Using an app with process management
This article explains how to perform actions on records in apps when process management is enabled.
Submitting and approving requests using process management
As an example, the following steps show how to submit and approve records in an app for making purchase requests.
This app has a workflow where every record added needs to be approved.
-
Add a record to the purchase application app.
The first process management status will be displayed on the record after it has been added, along with a button (action) for moving the workflow along to the next status.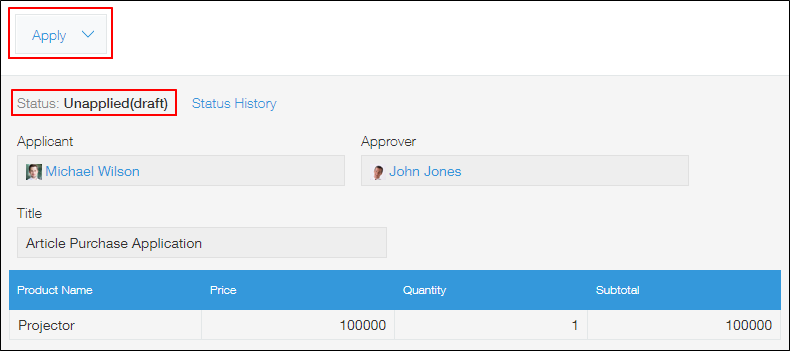
-
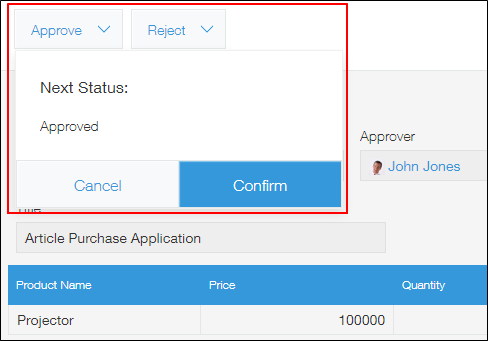
Click the action button.
-
Select the next assignee and click Confirm.
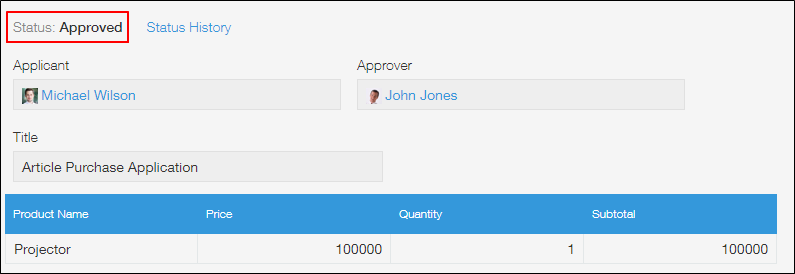
The record's status and assignee will change. When the status has changed and you're no longer the assignee, the action button will disappear.
 -
The next assignee will perform their action.
The record will change to the next status.
Changing the current assignee
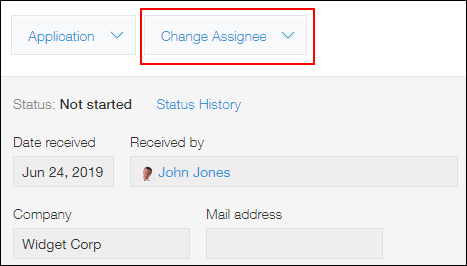
The Change assignee button is displayed at the top of the screen for the users listed below, allowing them to change the current assignee.
- cybozu.cn administrators
- Users with permission to manage the app
FAQ
Is it possible to revert a status back to the previous one?
No, statuses cannot be reverted.
As a workaround, an app administrator can add an action for changing a status back to the previous one in the Process management settings. After doing so, the app administrator should do the following.
- Set themselves as the current assignee and perform the set action.
- Ask the user designated as the current assignee to perform the set action.
Is it possible to change the status of multiple records at once?
No, the status of multiple records cannot be changed at once.
You need to open and change the status of each record one by one.
For your reference, if you use a Drop-down field to enter the status of records instead of using process management, you can change the status of multiple records at once by using the CSV import/export feature.
When multiple assignees are specified in the process management settings, how are current assignees displayed?
When multiple assignees are set in the Process management settings of an app for which process management is enabled, the current assignees are displayed at the top of the Record details screen in the following format: "Assigned to: (User Name) and N more".
Example: "Assigned to: John Jones and 4 more"
The screen displays the user name of the assignee with the smallest user ID among all the assignees ("John Jones" in the example above). The display order setting does not affect which user's user name is displayed.
Clicking "and N more" displays the list of assignees in ascending order of their user IDs.
Note that user IDs can be found in the "editUser?id=user ID" part of the URL for the Change user information screen in Users & system administration.
I added users to a group or department specified under "Assignee list", but they're not reflected under "Assigned to"
The current assignees that appear under Assigned to: on a record are designated according to the department/group/user settings that were in place at the time when the action to change the previous status was performed.
For this reason, if you change the users of a department/group that is set as a process management assignee after the department/group has already become the current assignee of a record, the changes will not be automatically reflected on that record and the current assignees will remain the same as before you made the change.
If you have permission to manage the app, you can manually add a user as a current assignee of the record.
The steps are as follows.
-
Open the record to which you want to add an assignee.
-
Click the Change assignee button on the Record details screen.
-
Add the user you want to add as an assignee and click Assign.